
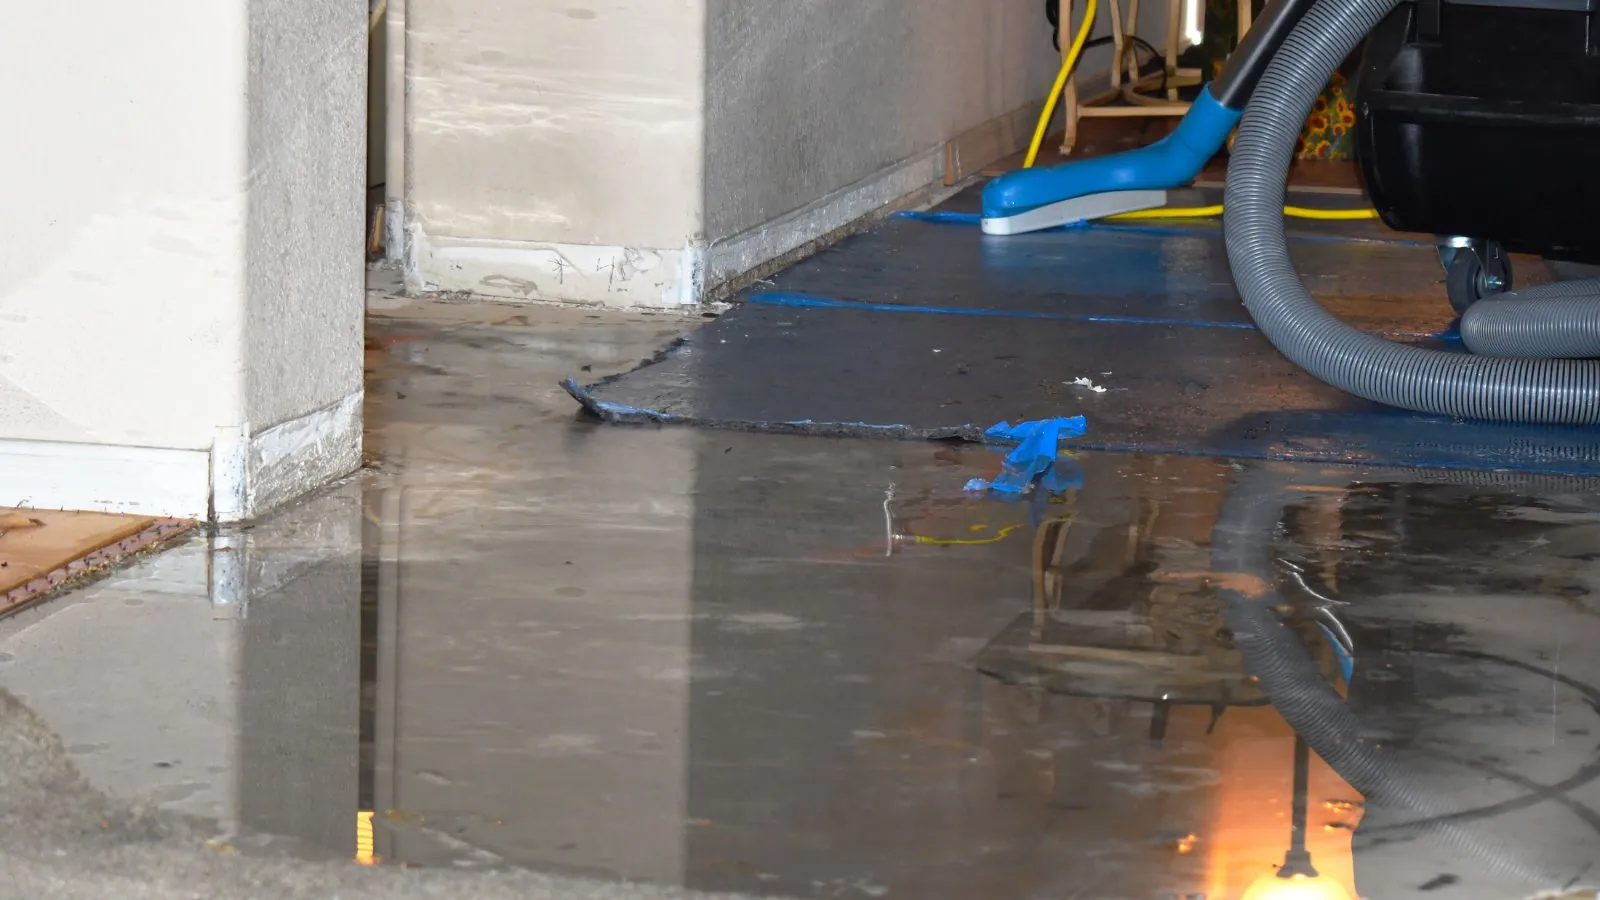
After a water loss, the first hours are chaotic, and documentation is easy to skip. A few habits make the later claim conversation much easier. This checklist covers what to capture, in what order, and what to keep. It is general guidance and does not predict how any insurer will respond.
You do not need special equipment. A phone, a notebook and a folder for receipts are enough.
Photographs: wide first, then close
Start at the doorway of each wet room and take a wide shot that shows the whole space. Then move closer to the water line on walls, the stain on the ceiling and the damaged floor. Photograph the source of the water if you can see it, such as a split hose or a leaking fitting.
Take photos before you move anything. After you move furniture, you cannot show where it sat. If you must discard an item to prevent hazards, photograph it first and note the room.
The documentation checklist
Use this list on day one and add to it as the cleanup proceeds.
Claim documentation checklist
- Date and time you discovered the water, and who found it
- Photos and video of every wet room, before and after moving contents
- The failed part or fixture, kept in a bag
- A list of damaged belongings with age and approximate value
- Receipts for emergency purchases, hotel stays and cleanup
- The name, date and notes from each call with your insurer
- Moisture readings and the drying log from the restoration crew
- Plumber or roofer invoices showing the source was repaired
Keep everything in one folder, paper or digital, and back up the photos.
The drying log and moisture readings
A restoration crew records moisture readings in each wet material on the first visit and on each return. The log shows the starting numbers, the progress and the final dry readings. It also lists the equipment placed. This is a record of what was wet and how it was dried.
Ask for a copy. If the crew uses a thermal camera, ask for the images too. They show the extent of hidden moisture at a point in time, which can be hard to reconstruct later.
Records and why each one helps
Different records answer different questions.
| Record | What it shows | Who creates it |
|---|---|---|
| Photos and video | Condition on day one | You |
| Drying log | How wet and when dry | Restoration crew |
| Plumber invoice | Source and repair | Plumber |
| Contents list | What was lost | You |
| Call notes | What was said and when | You |
Contents inventory without the stress
Go room by room. For each damaged item, note what it is, roughly how old and what you would pay to replace it. Do not worry about exact figures at first. Photographs of labels, serial numbers and receipts speed things up.
Your insurer may use its own forms. Complete them as accurately as you can, and keep a copy of what you send. Ask in writing if a deadline is unclear.
Talking to the adjuster
When the adjuster visits, walk the property with your photos in hand and point out each area. Ask what the adjuster needs from you and when. Take notes during the call, including the person's name, the date and what was said. If the adjuster's scope differs from the crew's, ask for the reason in writing.
You may disagree with an estimate. Ask your insurer how disagreements are handled under your policy, and keep a calm paper trail. Photographs and a drying log are the strongest support for a scope you believe is accurate.
Videos, voice notes and a simple timeline
A short walkthrough video with narration can capture more than photos. Describe each room as you film it, mention smells, sounds and what you touched. Voice notes made at the time are easier than trying to remember later.
Build a timeline on one page: discovery, shutoff, first call, crew arrival, first readings, daily visits, final readings, repairs. Each line gets a date and a short note. It takes ten minutes and answers most follow-up questions.
Receipts, temporary housing and out-of-pocket costs
Keep receipts for emergency plumbers, hotel nights, meals if your policy covers extra living costs, and anything you buy to protect the property such as tarps or fans. Ask your insurer in advance what it reimburses. Policies differ on whether additional living expense is included and what the limits are.
If you hire a restoration company, keep the work authorization, the scope and every invoice. Do not sign a document you have not read, and ask for a copy of everything you sign.
If the claim is denied or reduced
Read the letter closely. It should state the reason and the policy language relied on. Ask for a copy of the adjuster's report. Your insurer's complaint process and the Massachusetts Division of Insurance consumer help line are places to ask questions about a decision.
Records you gathered on day one, such as photos, the drying log, invoices and call notes, are the foundation of any reply. Keep your tone factual. If the amount is large, you may want advice from a public adjuster or an attorney, and this article is not legal advice.
Digital copies and where to store them
Scan paper receipts, back up photos to a cloud folder and email key documents to yourself. A fire or a second leak should not erase your record. Name files with the date and room, such as kitchen-water-line-day1, so you can find them under stress.
Share the folder with a family member who can help if you are unavailable. Keep the original failed part, labelled with the date.
A Norton note on flood and records
Norton's 2018 resilience workshop summary names Richardson Avenue, Walker Street and Route 123 among flooded roads. If your street floods, keep dated photos of your property after storms in a single folder, because patterns over time help explain a pattern of risk. Check the FEMA flood map for your address and ask the Norton building department about any drainage records for your street.
Common mistakes to avoid
Throwing away the failed part is a common one. So is repainting before the insurer has seen the damage, or signing a work order without reading the scope. Another is waiting for an adjuster before starting any drying, which can let damage grow.
Mitigation is generally expected, so begin water extraction and drying while you document. For the drying stage, see structural drying and dehumidification. Crews also work in nearby towns such as Plainville and South Easton.
Common questions
The condition of each wet room before anything is moved, plus the source of the water if visible.
Yes. Keep it in a bag. An insurer or plumber may want to see it.
Generally yes, and many policies expect you to protect the property. Photograph first.
No. It documents the work. The insurer decides the claim.
Keep them at least until the claim and repairs are finished, and longer if your insurer asks.
References for this article
Reference points for this article are the Massachusetts Division of Insurance, the EPA and the ANSI/IICRC S500 and S520 standards. Local rules differ, so confirm with your insurer and the town building department.